
Make Your Website Shine with the Right Images
Are you a business owner creating a new website or considering a website redesign? With modern audiences’ short attention spans, the images you choose can make or break your online presence. Website photography isn’t just about filling space, it’s about telling your brand’s story, building trust, and guiding visitors exactly where you want them to go.
In this guide, we’ll break down how to choose the best images for your website design. Whether you’re hiring a professional or sifting through stock photo sites, these expert tips will help you create a visually stunning site that drives results.
Why Website Photography Matters
Good website photography is more than decoration—it’s a core part of your brand identity and user experience. Here’s why selecting the right images is critical:
- First Impressions: People form an opinion about your site within seconds.
- Trust and Credibility: High-quality images build trust; poor visuals drive prospects away.
- Guided Navigation: Images highlight key sections and call-to-action buttons.
- Conversions: Relevant, authentic photos lead to higher engagement and sales.
According to HubSpot’s research, content with relevant images gets 94% more views than content without. Website photography is a business asset—choose wisely.
Align Images with Your Brand Identity
Your brand has a story, values, and a personality. The images you select must reflect these elements consistently across every page.
Conduct a Visual Brand Audit
Ask yourself:
- What emotions do I want customers to feel?
- Are my colors, style, and tone consistent?
- Do the images reflect my target audience’s lifestyle?
Use Consistent Color, Style, and Tone
Aim for visuals that match your brand colors and overall aesthetic. For example, a law firm’s images should look polished and professional, while a trendy café could use lively, colorful photos that evoke energy and friendliness.
Prioritize High-Quality, High-Resolution Images
Blurry, pixelated, or poorly lit images weaken credibility instantly. Always use high-resolution photos, at least 1200px wide for hero images. For icons and logos, rely on vector images (SVG) for crispness at any screen size.
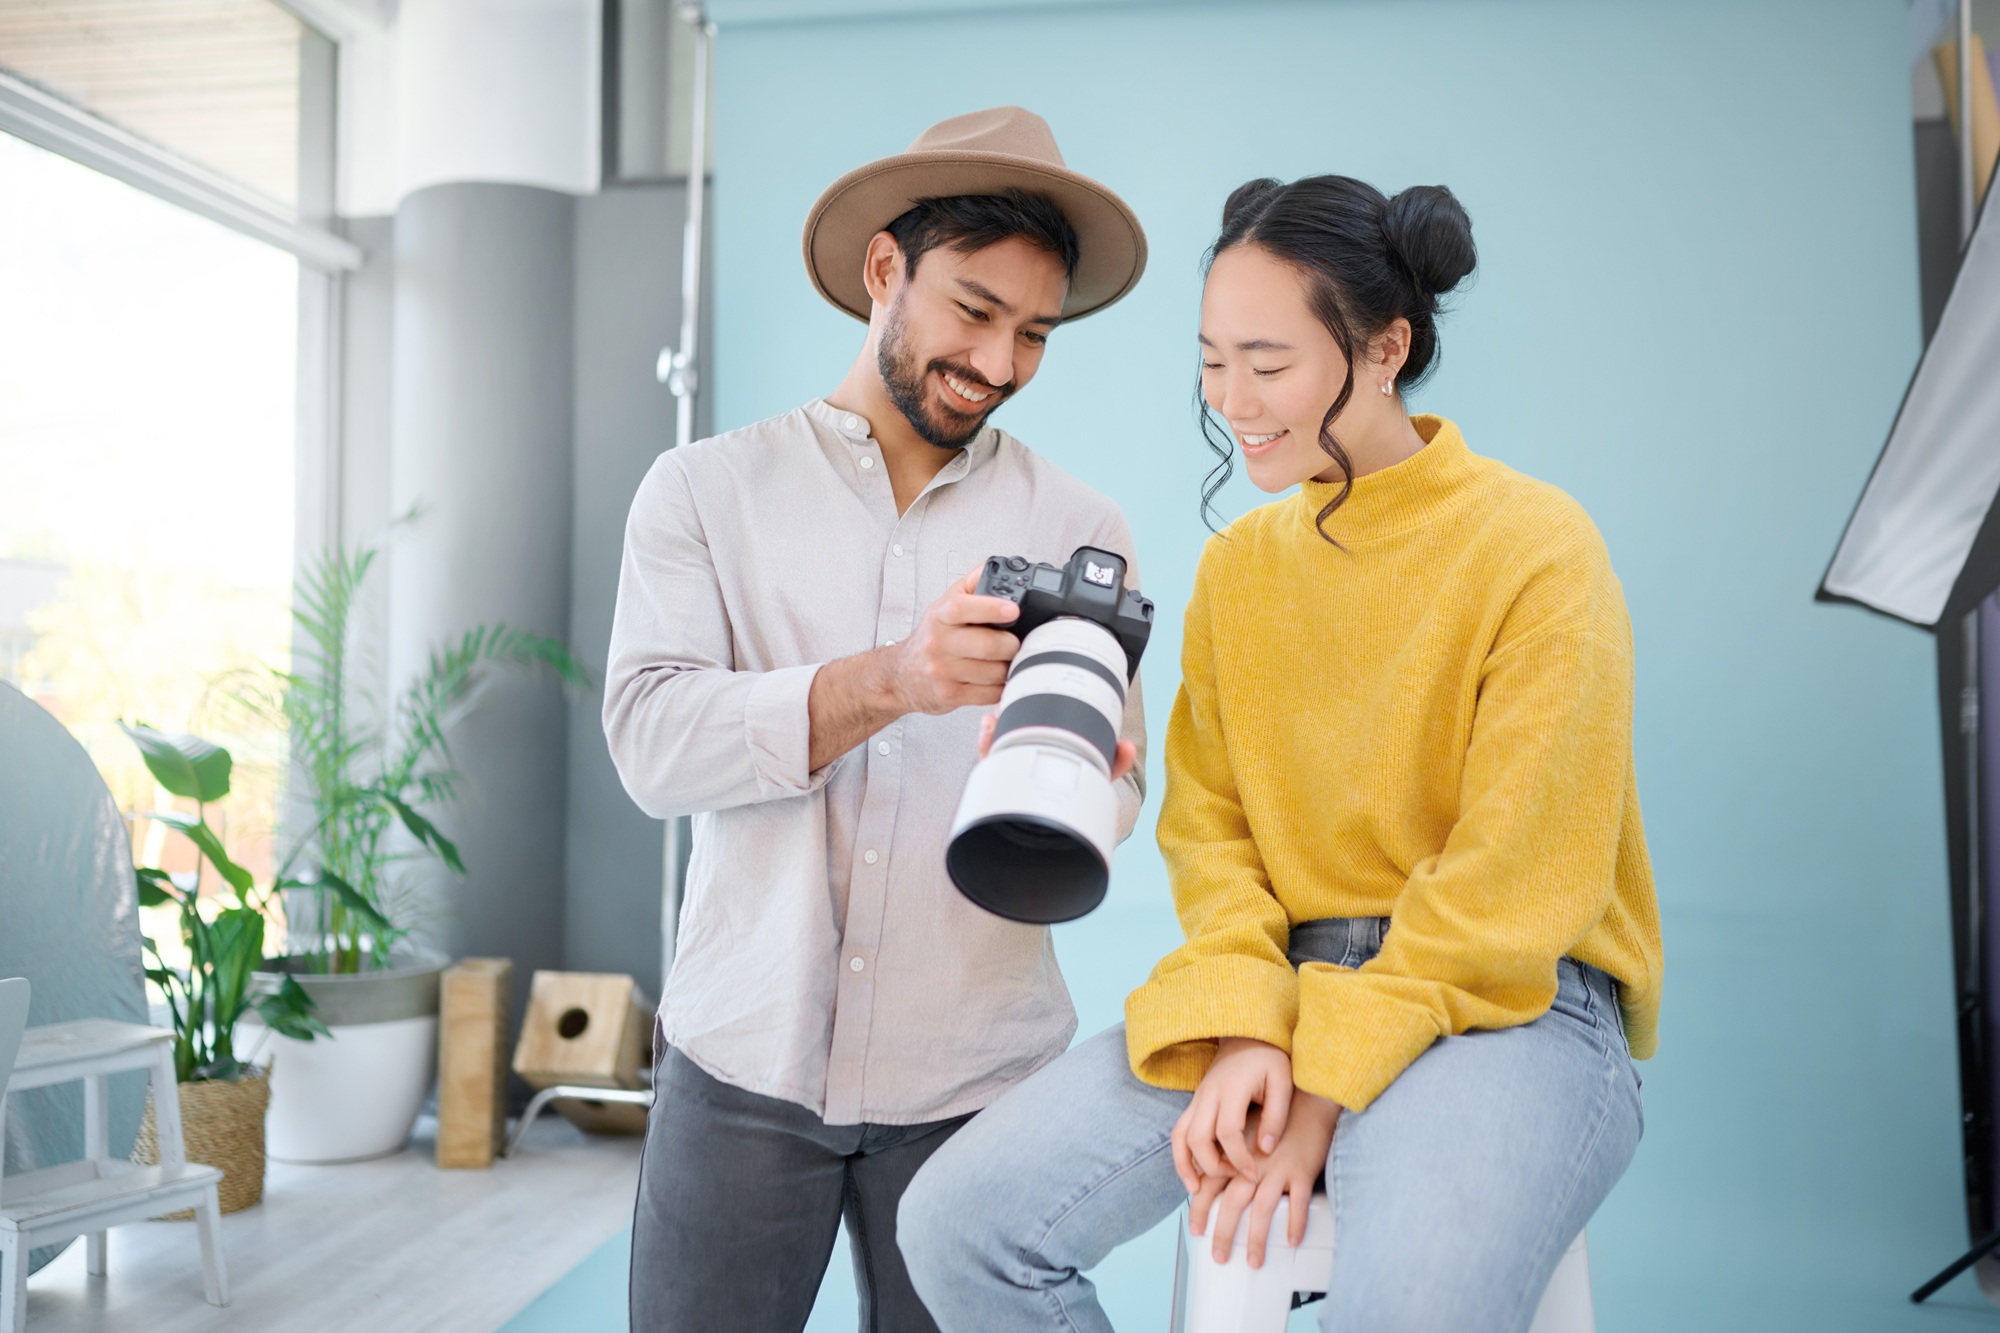
- Professional photography creates uniqueness and trust.
- Consider a brand photoshoot for a truly custom look.
If budget is tight, use reputable stock photo sites (like Unsplash or Pexels) and avoid overused clichés.
Choose Authentic and Relevant Photos
Modern consumers spot generic stock photos instantly. Instead:
- Feature your real team, workspace, or products where possible.
- Select images that directly relate to your offerings.
- For service businesses, before-and-after shots or team profiles help personalize your website.
Example:
If you run a fitness studio, images of real instructors and clients resonate more than polished models using generic weights.
Consider Layout & Orientation
-
Follow the Rule of Thirds
Position focal points (like people or products) along a third of the frame, not dead center—this adds balance and visual interest. -
Leave Space for Text
If the image will include text overlays (like on hero sections), leave negative space (usually on the left or right third) for copy placement. -
Keep It Clean and Focused
Avoid cluttered backgrounds. Focus on one subject per image to reduce visual noise and keep attention where it matters. -
Use Depth and Layers
Foreground, midground, and background layers can add dimension and professionalism, especially in lifestyle or brand photography.
Orientation & Sizing
-
Landscape for Most Uses
Horizontal (16:9 or 3:2) images work best for hero banners, section backgrounds, and blog headers. -
Portrait for Bios or Mobile Sections
Use vertical images for team photos, blog thumbnails, or mobile-focused content blocks. -
Square for Uniform Grids
Use 1:1 images for galleries, product cards, or testimonial layouts to keep consistency. -
Account for Cropping & Responsiveness
Design with flexibility: make sure the subject remains visible even if parts of the image get cropped on different screen sizes.


Choose Images That Guide the User
Smart website photography should do more than look good—it should also guide users to take action.
Use Photos with Directional Cues
People naturally follow the gaze or gesture of a person in a photo. Try:
- Images where subjects look or point toward a call-to-action button.
- Arrows, graphics, or lines that subtly lead the eye toward important sections.
Support Key Content
Match images to key headlines, testimonials, or product features. The right photo will emphasize the message and increase engagement. This creates consistency and brand trust for the user’s experience.

Balance Stock and Custom Visuals
Stock images are a lifesaver for tight budgets or timelines, but use them wisely:
- Avoid cheesy or excessively staged stock photos.
- Blend stock graphics with custom images whenever possible.
- Edit stock images (crop, add filters, overlay your colors) for a cohesive look.
Pro Tip: Consider mixing stock and custom images, so your website feels authentic but remains manageable for your redesign schedule.
How to Choose Stock Photos for Your Website: Shutterstock
Stay Legally Safe: Only Use Licensed Images
Never grab Google images for your business website. Use images you own, have purchased, or are available under a clear license.
- Free stock sites: Unsplash, Pexels
- Paid stock sites: Shutterstock
- Affiliate site: Envato Elements
- Commission your own photographer when possible
Optimize for Mobile Devices & Fast Load Times
Over 55% of website traffic is mobile. Responsive images ensure your site looks sharp on every screen.
Checklist for mobile-friendly website photography:
- Preview images at various screen sizes
- Use image scaling options in your website platform
- Avoid heavy vertical (portrait) images in wide-format areas
Large, uncompressed photos slow your website—a major reason visitors leave. Fast sites create better experiences and improve your Google search rankings.
Tips for Optimization:
- Compress images without losing quality (use tools like TinyPNG or ShortPixel)
- Serve images in next-gen formats (like WebP)
- Resize images to the exact pixel size needed on your site
- Add descriptive alt text for accessibility and SEO (this also helps search your media library!)
For more on site information, see our Website Design Services, where we prioritize fast, beautiful, and accessible websites.
Frequently Asked Questions
What image size is best for a website hero banner?
Aim for at least 1920×1080 pixels, but always compress for web and scale to fit the specific space.
What’s better: custom photography or stock photos?
Custom photography is best for authenticity, but high-quality stock photos work if customized and thoughtfully selected.
How many images should I use on my homepage?
Focus on clarity—use 3 to 5 key photos or graphics that clearly communicate your value, not filler.
What is image alt text, and why is it important?
Alt text describes an image for visually impaired users and search engines. It boosts accessibility and SEO performance.
Can I use images from Google?
No! Only use images you own, buy, or have permission to use to avoid copyright issues.
Key Takeaways
- Website photography is crucial for credibility, branding, and engagement
- Consistent and relevant images build trust and guide users
- Prioritize high-resolution, compressed images for performance
- Authentic visuals, especially of your team or product, beat generic stock
- Optimize for mobile and use proper image licensing
Conclusion: Make Your Website Stand Out
Choosing the best images for your website isn’t just a technical exercise—it’s a chance to show off your business personality and connect with potential clients at a glance. By investing in the right website photography, you’ll create a site that not only looks stunning but communicates your core value instantly.
If you’re ready to elevate your website’s look, reach out to the Simply Styled Sites team. We can help you select, source, and optimize the perfect photos for your next site redesign. Contact us today by sharing your project to get started on a visually stunning, results-driven website!
Further Reading:
Local to San Diego, CA?
Contact one of our preferred photography partners to get the best solution for your business and branding needs.